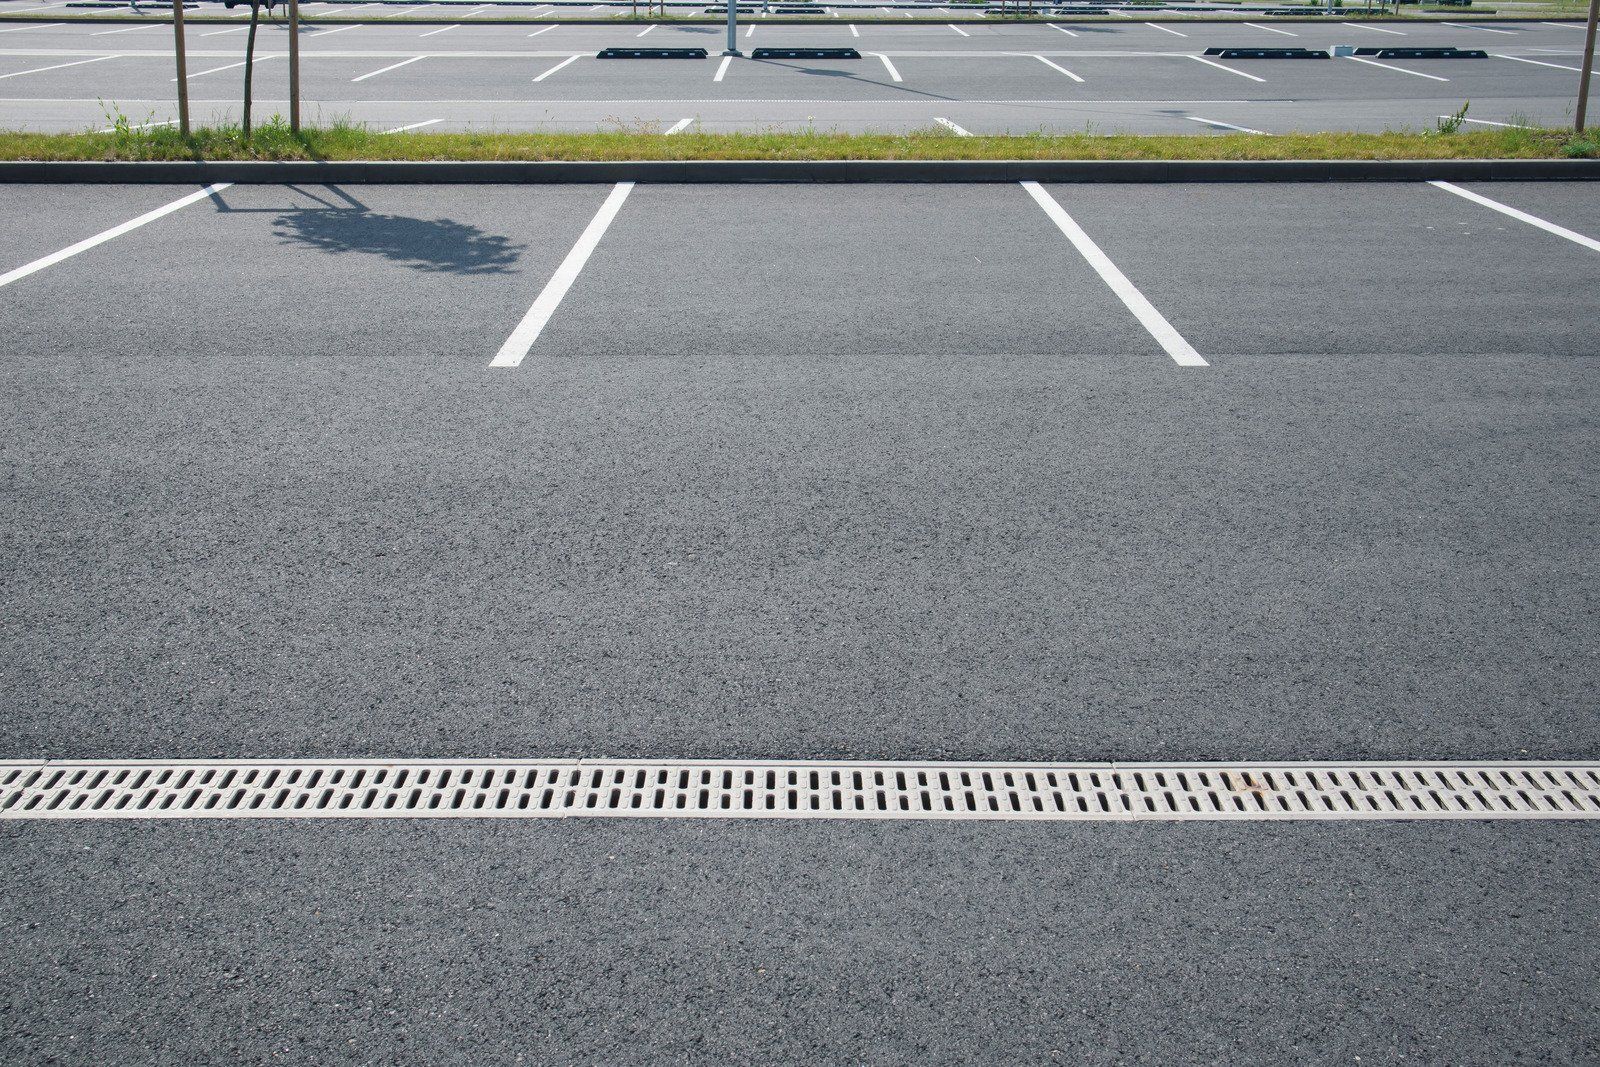
Learn about alligator cracking in asphalt & its implications. Contact us for expert repairs to prevent costly damage.
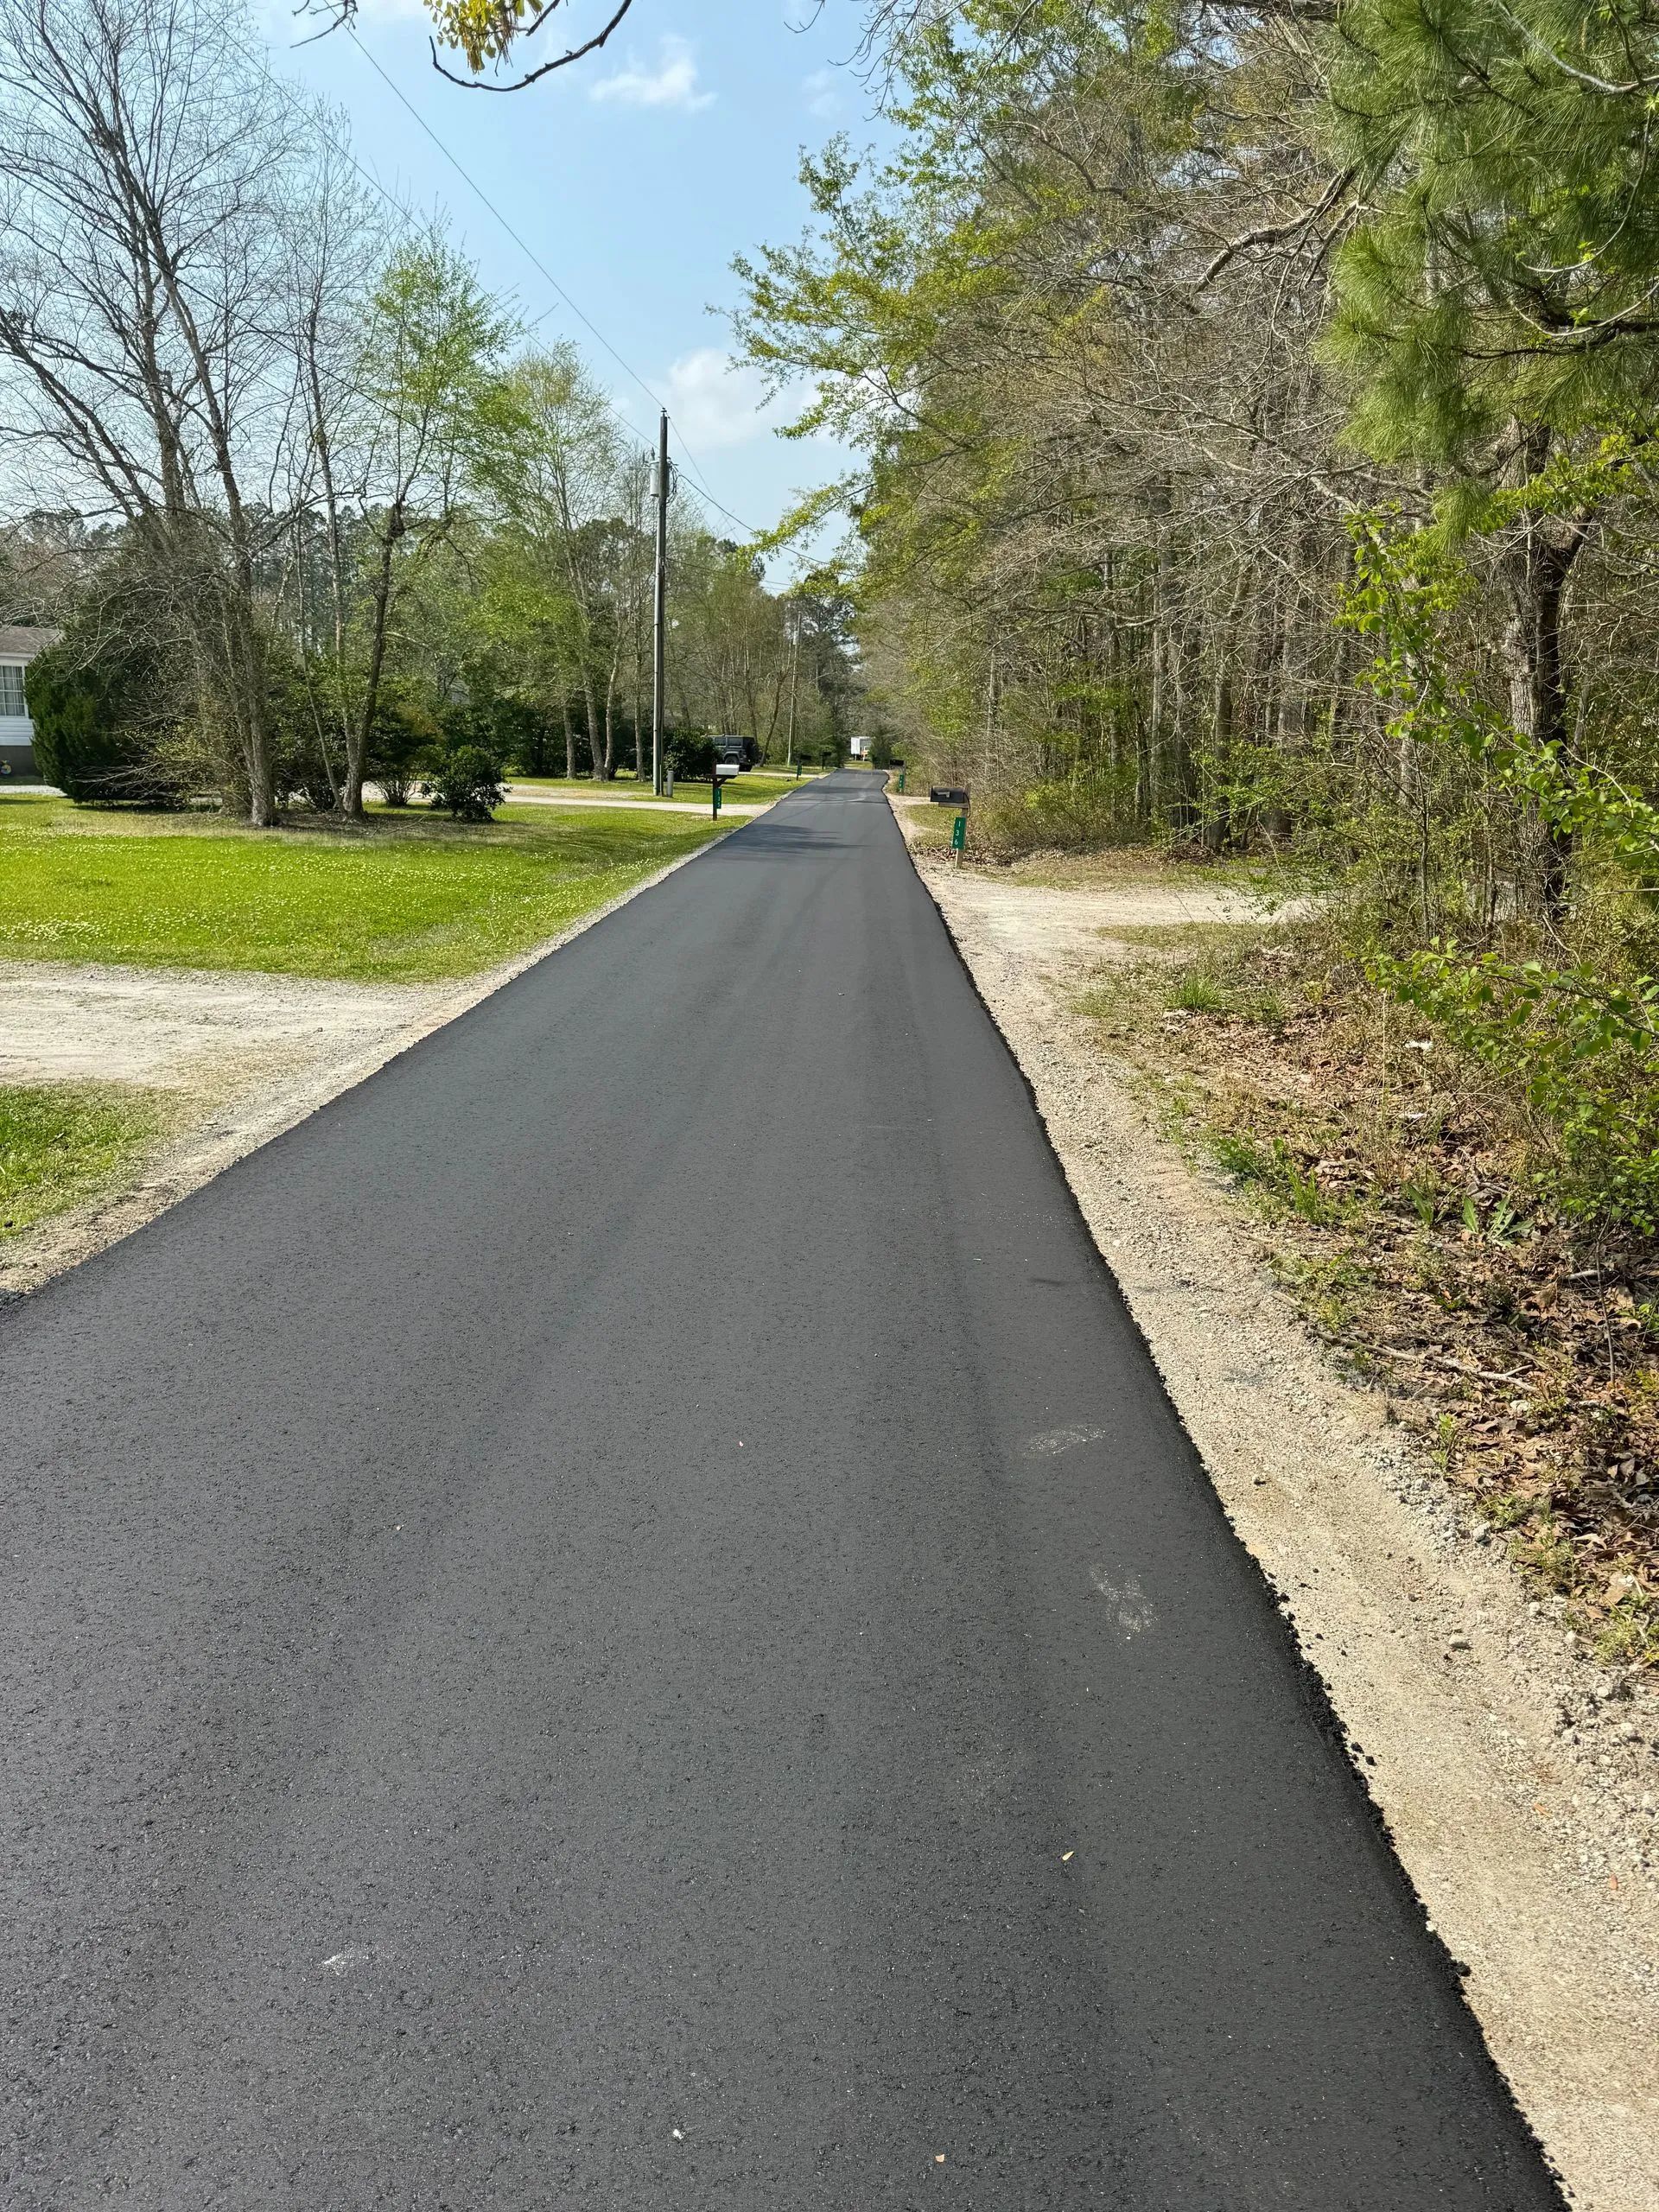
Property owners invest significant resources into maintaining buildings, landscaping, and infrastructure, yet one critical asset is often overlooked: asphalt pavement. Driveways, parking lots, and access roads create the first impression visitors,
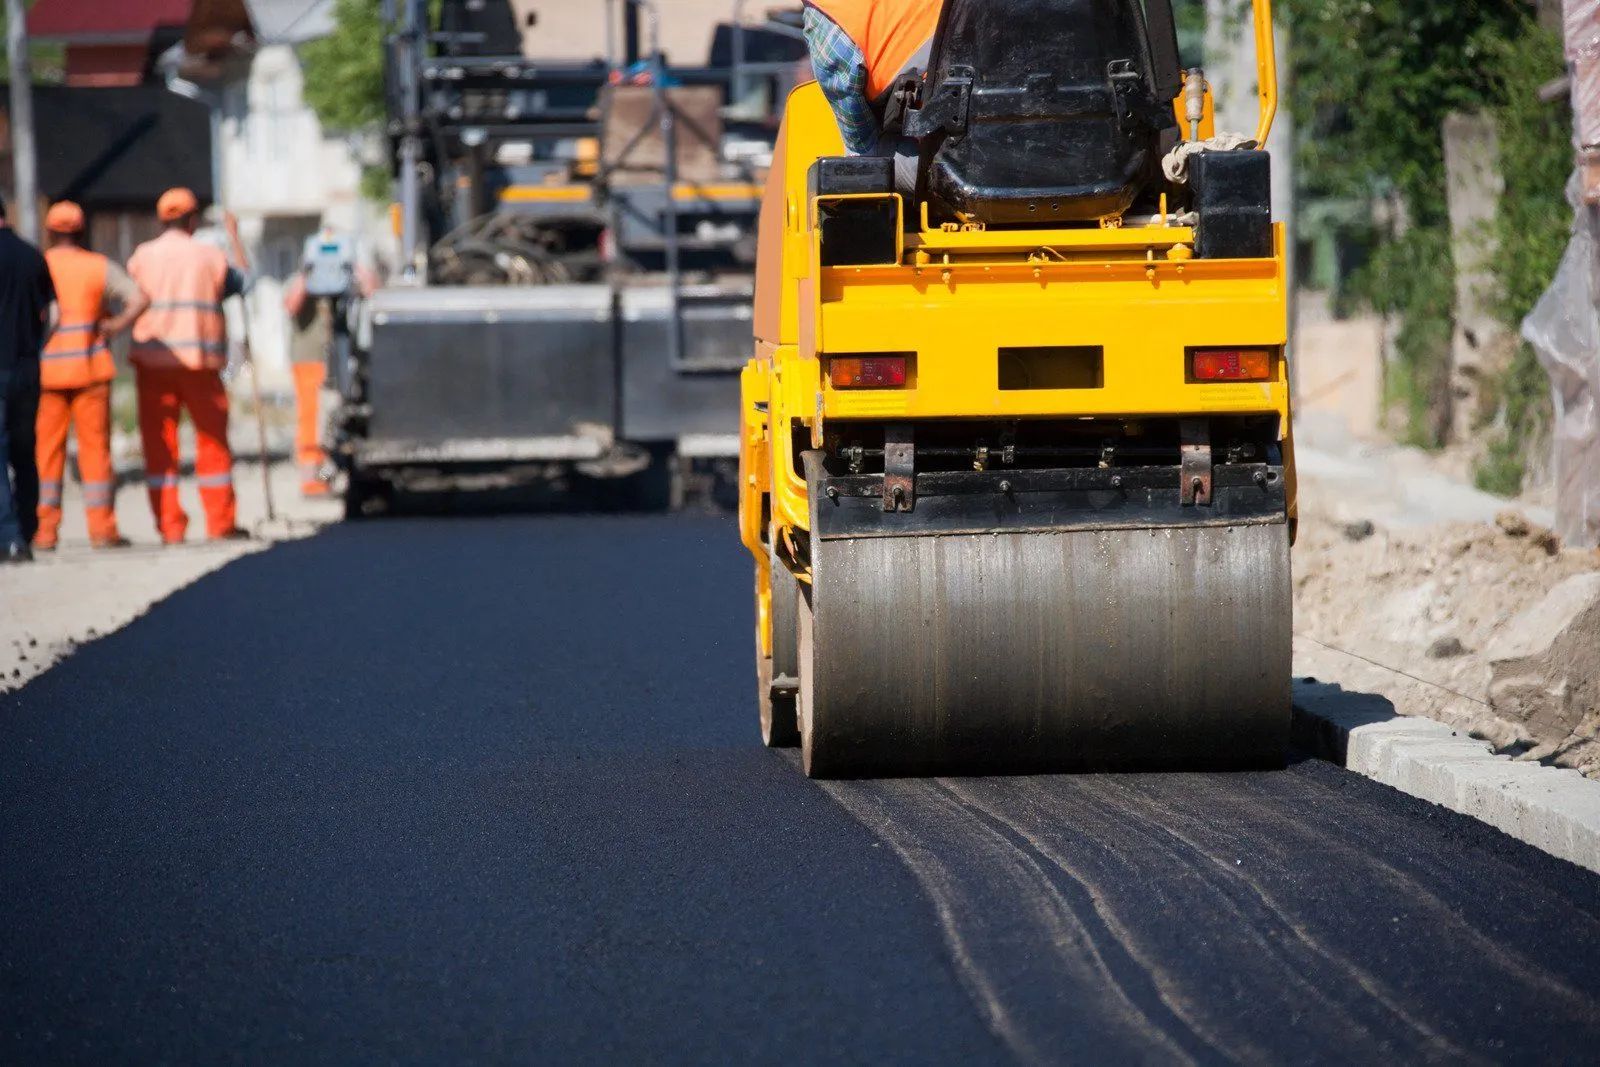
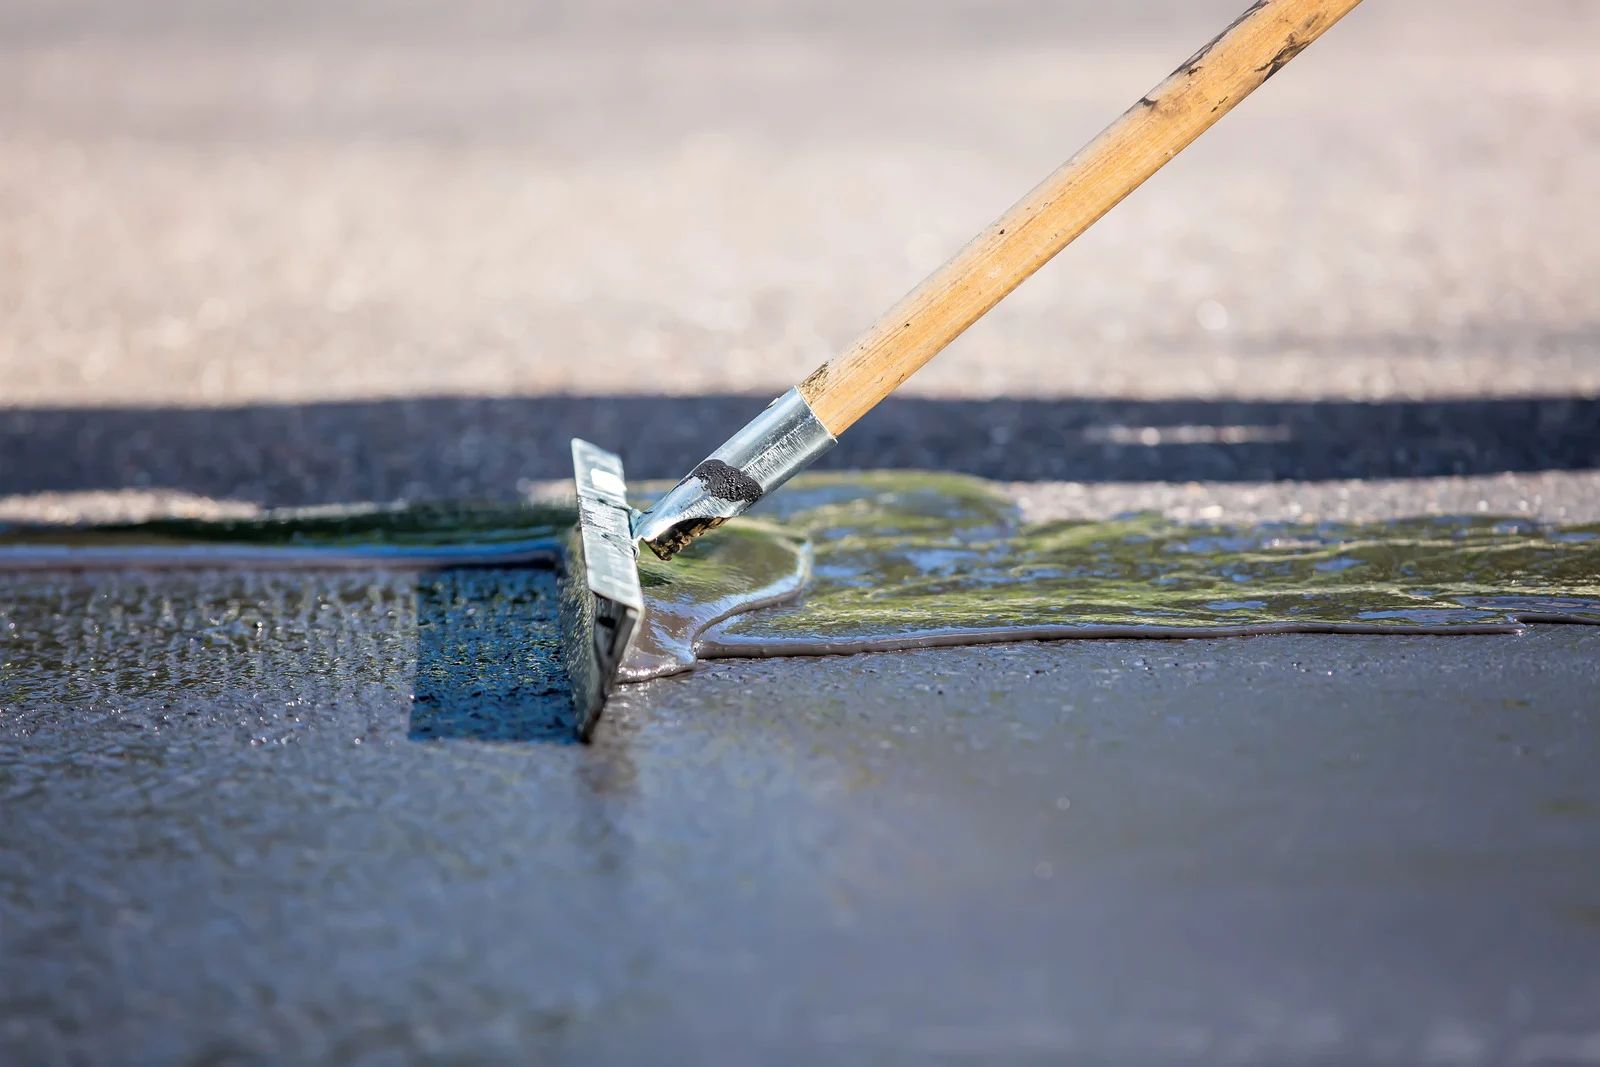
Selecting the right commercial paving contractor is one of the most critical decisions for any business planning a construction or renovation project. Paved surfaces—whether parking lots, roadways, or walkways—are not just functional features; they are essential components that reflect the quality,
Learn about alligator cracking in asphalt & its implications. Contact us for expert repairs to prevent costly damage.
Property owners invest significant resources into maintaining buildings, landscaping, and infrastructure, yet one critical asset is often overlooked: asphalt pavement. Driveways, parking lots, and access roads create the first impression visitors,
Selecting the right commercial paving contractor is one of the most critical decisions for any business planning a construction or renovation project. Paved surfaces—whether parking lots, roadways, or walkways—are not just functional features; they are essential components that reflect the quality,